
Some product features are enabled only when the latest versions of patches or firmware are installed. In order to achieve best performance, safety and stability, installing the latest available patches or firmware is required.
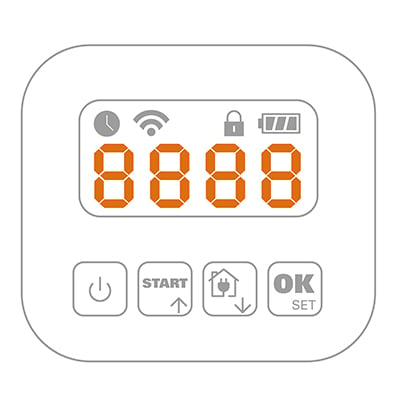
This tutorial covers Landroid WR130E, WR139E, WR141E, WR147E and WR184E which have a 7-segments display.
Log in with your credential on our Account web panel.
If you haven't registered your mower for the warranty extension yet, the system will ask you to do it first.
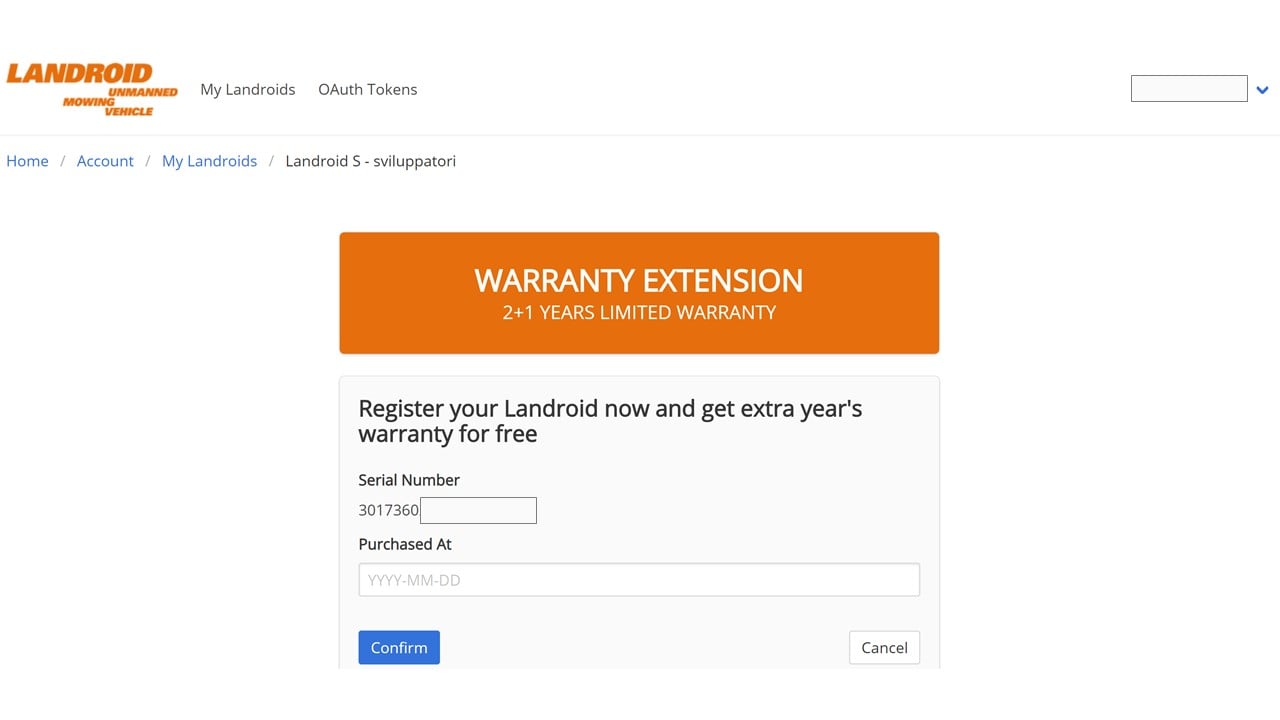
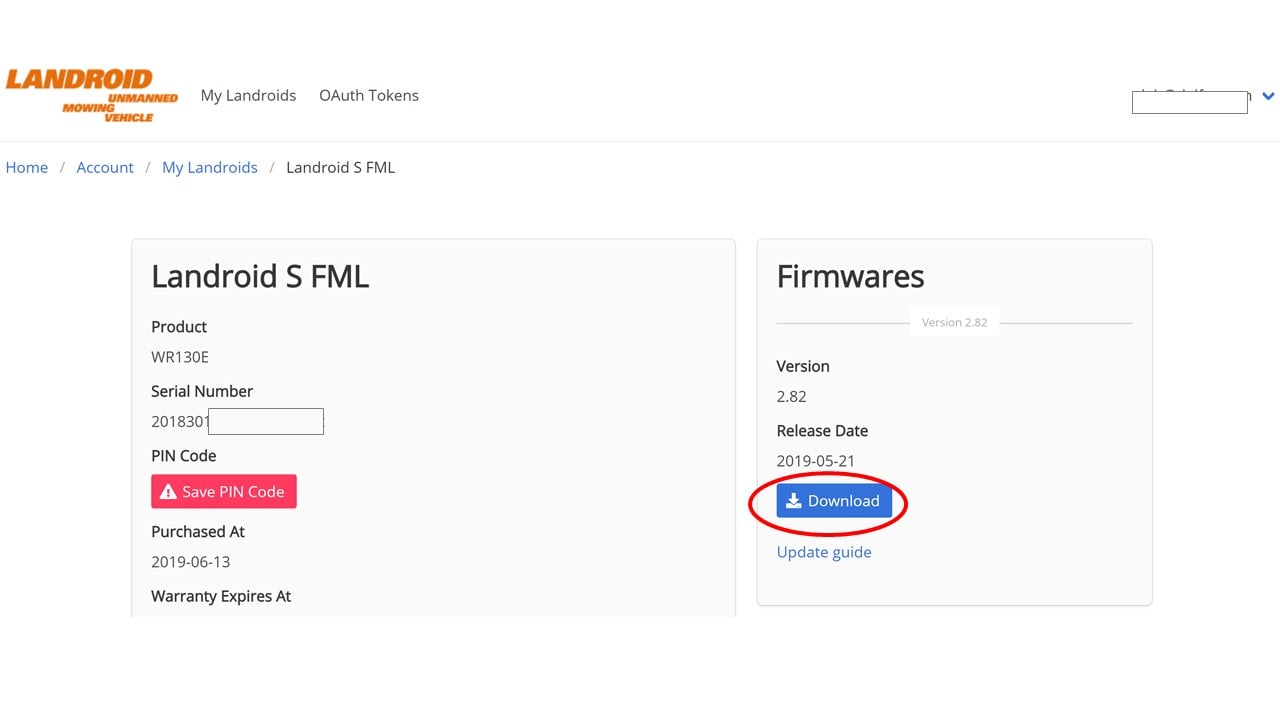
Once registered, select your mower model from the list, then download the lates available firmware on your computer by clicking the download button.
Now you can follow the easy instructions provided in this video
Alternatively, follow the instructions here:
1. Get a USB stick, insert in your computer and format it FAT32. Small capacity USB sticks (e.g. 2, 4 or 8GB) work better for this purpose.
2. Copy the file as it is (no need to unzip it) from your computer to the USB stick.
3. Open the rear cover of the robot and locate the USB port.
4. Switch the robot off.
5. Insert the USB stick in the port, then power the robot on.
6. The machine will start to download the firmware. When the robot displays “USB”, remove the USB stick.
7. Now the firmware update process starts. once it is finished, the robot restarts and you will be asked to inserto the PIN.
Enjoy your newly updated Landroid.